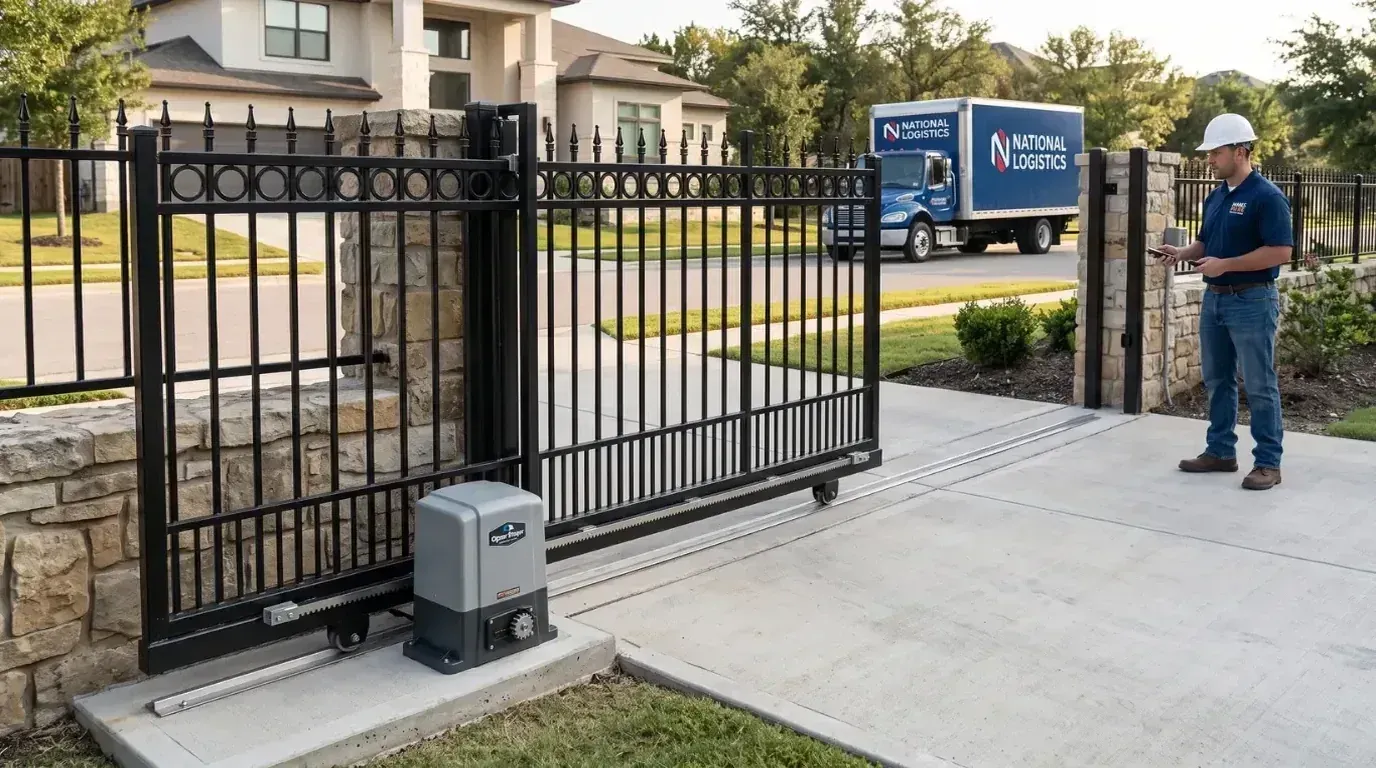
Most manual gates can be automated. The decision to automate an existing gate is less about the motor and more about the gate it will be bolted to. The question is whether yours is ready, because a motor cannot fix a gate that sags, drags, or hangs on a leaning post. Fitting an opener to a tired gate turns a small annoyance into a daily fault.
Work through the gate automation retrofit checks below before you buy anything. They take an afternoon and they decide which opener you need, what it will cost, and whether the gate needs work first.
The Retrofit Checklist Step by Step
1. Confirm the Gate Type and Direction
Start with what you have.
- Swing gate: one or two leaves on hinges. Note whether the leaves open inward or outward, and whether the ground rises as they open.
- Sliding gate: a leaf that rolls sideways on a track or on cantilever rollers.
- Barrier: a boom that lifts.
If the ground slopes up behind a swing gate, the leaves may only clear the ground for part of their travel. That limits which opener fits and sometimes means regrading or converting to a sliding gate. Our comparison of sliding vs swing gates covers the tradeoffs.
2. Test How Freely the Gate Moves Now
This is the single most useful check in any gate automation retrofit.
Push the gate through its full travel by hand. It should move smoothly with light, steady effort, from fully closed to fully open, with no tight spots.
Look for:
- Hinges that bind or drop
- Wheels that are flat, seized, or worn oval
- A track that is bent, blocked, or full of grit
- A leaf that scrapes the ground at any point
- A gate that swings shut on its own because a post leans
Fix these before the motor arrives. An opener is sized to move a working gate.
3. Check the Posts, Hinges, and Fixings
Automation adds repeated force to the gate structure. A post that copes with an occasional push may not cope with thousands of powered cycles.
Check that posts are plumb, firmly set, and free of rust or rot at ground level. Look at the hinge fixings and the welds. On sliding gates, check the roller posts and the guide rollers at the top.
If a post moves when you lean on the gate, it needs attention before automation, not after.
4. Measure Weight, Length, and Height
Openers are rated by gate weight and length, so you need real numbers.
- Ask the fabricator for the finished weight, or calculate it from the sections used.
- Measure the leaf length, or the opening width for sliding gates.
- Measure the height, which matters for wind.
For reference, our sliding gate opener handles gates up to 1,200 kg (about 2,650 lb) in the 200W version and up to 1,800 kg (about 3,970 lb) in the 400W version. Choose a model rated comfortably above your real weight rather than one that sits at its limit.
5. Judge Wind Exposure
A solid gate acts like a sail. Wind load does not show up on the weight chart, but the motor still has to push through it.
Tall, solid infill on an exposed site is the classic case of an opener that works in spring and struggles in winter. If you can still change the design, open mesh or spaced bars cut the load sharply. Our guide to gate wind load explains how to judge the risk.
6. Check There Is Room for the Motor
Each opener type needs its own space.
Gate type | Common opener types | Space needed |
|---|---|---|
Swing, room behind the leaf | Arm or ram operators | Clear run behind the hinge for the arm |
Swing, pillar close to the leaf | Articulated arm operators | Room on the pillar face |
Swing, no visible hardware wanted | Underground operators | A drainable ground box at each hinge |
Sliding | Rack and pinion opener | A level pad beside the gate and a straight run for the rack |
Barrier | Barrier cabinet | A foundation beside the lane |
For sliding gates, also check that the gate has somewhere to park when open. It needs roughly the opening width again along the fence line, and more for cantilever gates.
7. Plan the Power Supply
This is where retrofit projects often stall. There may be no power at the gate, and trenching a supply down a long driveway costs more than the opener.
Options:
- Mains supply in conduit, installed by a licensed electrician.
- Solar and battery, which suits remote entrances, farm gates, and long drives. This is the most common way to retrofit a gate opener where there is no supply nearby.
- Battery backup in either case, so the gate still works during an outage.
Low-voltage DC openers suit solar and battery setups well. Every Open Bear opener runs on 24V DC and is rated from -35°C to 70°C (-31°F to 158°F). For farm and ranch entrances, our guide to automating farm and ranch gates covers power planning in more detail.
8. Budget for Safety Devices
Safety is not an optional line item when you convert a manual gate to automatic form. A gate that anyone can push is a different risk from one driven by a motor.
Plan for:
- Photocells across the opening
- Safety edges where there are pinch points
- A warning light
- Correctly adjusted obstruction sensing in the opener
In the United States, the opener should meet UL 325 and the gate itself should meet ASTM F2200, which covers items such as guarding exposed rollers and screening low openings on sliding gates. Our guide to gate safety sensors and UL 325 explains the requirements and where devices go.
9. Decide How People Will Open It
List everyone who uses the entrance, then match the controls to them.
- Remotes for residents and staff
- A keypad for visitors and deliveries
- App control over WiFi for letting people in while away
- A loop detector for free exit
- An intercom where you want to see or hear who is there
Our gate access control guide compares these in detail.
10. Check Rules, Permits, and Shared Access
Before ordering, confirm:
- Local permits for electrical work and for gates near a public road
- Any homeowners association rules on appearance
- Rights of way and shared driveway agreements
- Requirements for emergency services access
These are cheaper to sort out before installation than after.
What Your Installer Will Ask For
Work through the gate automation checklist below first, then have these ready so quoting is faster and more accurate:
- Photos of the gate from inside and outside, plus the posts and hinges
- Gate weight, leaf length, and height
- Opening width and the space available along the fence line
- Distance from the gate to the nearest power supply
- How many vehicles and people use the entrance each day
- Any slope across or behind the opening
Retrofit or Replace the Gate?
Sometimes the gate is the wrong starting point. Replacing it is usually the better choice when:
- The frame is rusted or rotten at the joints
- A leaf has twisted and no longer sits flat
- The gate is far heavier than any opener rated for the site
- A timber gate swells and sticks in wet weather
- A swing gate has nowhere to open to, and a sliding gate would fit
A new gate built for automation usually costs less over ten years than fighting an old one. Look for the right infill for your wind exposure and a straight bottom rail for the rack.
Your Retrofit Checklist
Use this gate automation checklist as a final pass before you order an opener. It covers the same ground a good installer walks before quoting a job.
- Gate type and opening direction confirmed
- Gate moves freely by hand through full travel
- Hinges, wheels, rollers, and track serviced or replaced
- Posts plumb, solid, and sound at ground level
- Weight, length, and height measured
- Wind exposure considered
- Space confirmed for the opener and for the gate to park
- Power supply planned, with backup
- Safety devices specified and budgeted
- Control methods chosen for every user
- Permits and shared access rules checked
- Physical end stops fitted on sliding gates
If you can tick every line, you are ready to choose an opener and automate an existing gate with confidence. If two or three lines are still open, deal with those first, because they usually change which opener suits the site.
At Gate Opener Factory, every opener ships as a complete kit with English manuals, wiring diagrams, and parameter tables, and each unit is tested under full load before it leaves our line in Shenzhen. Send us your gate weight, length, site details, and photos, and we will help you work out which model fits.

Frequently Asked Questions
Key engineering and selection answers regarding this topic
A: Most can. You can convert a manual gate to automatic operation if it moves freely and the posts are sound. Gates that sag, drag, or hang on leaning posts need repair first, since an opener cannot fix mechanical problems.
A: It depends on the opener, the safety devices, the power supply, and any gate repairs. Running power to a distant gate is often the largest single item, which is why solar suits long driveways.
A: Not usually. Replacement makes sense when the frame is rusted or twisted, when the gate is too heavy for available openers, or when a swing gate has nowhere to open to.
A: Yes. Low-voltage DC openers work with solar panels and batteries, which avoids trenching a supply down a long driveway. Size the panel and battery for your daily cycles and the shortest days of winter.
A: Yes. A powered gate can trap or strike people and vehicles. Photocells, safety edges where needed, and correctly set obstruction sensing should be part of every installation, along with compliance with local standards.
Explore Related Automation Systems
Looking for motors, hardware, or installation systems mentioned in this guide? Discover our factory-direct gate opener range:
All Gate Openers
Browse DC24V sliding, swing & barrier operators with full factory warranty.
Explore Products →Residential Gate Operators
Ultra-quiet, solar-ready sliding & swing gate motors for homes and villas.
Residential Solutions →Commercial Gate Systems
Continuous-duty operators for gated communities, business parks & parking.
Commercial Solutions →Industrial Heavy-Duty
High-torque motors engineered for gates up to 4,000 kg and logistics hubs.
Industrial Solutions →